Wednesday, February 23, 2011

The Gas Mask Girl

This little lady was the project I was talking about on Monday. She's way less complex than she looks, too.

I bought the figure at a little boutique called "Dollar Tree" for the unearthly sum of twenty-five cents. Heh. She was kind of plain with a pseudo-porcelain finish and shoddy paint job. Also, she had the unappealing trait of not wearing a gas mask.

I sculpted the gas mask straight onto the figure with super sculpey, then stuck the whole thing in the oven. I was halfway convinced that she would shatter in the oven and I would be out a quarter, but she survived just fine.

I took her outside, primed and painted her with spray paint, and here she is! I did a few other figures and variations of this theme. The black figure behind her was an angel also from Dollar Tree, and I did a couple of other pieces, including a piggy bank. All survived the baking process just fine.

Also, as an added note: Just repainting the figures with a solid coat of paint did wonders for them, even if you don't want to add silly details like gas masks. Good cheap way to decorate, if that's your thing.

Monday, February 21, 2011

Wall Sculpture aka Fake Taxidermy

Here's what I've got on the wall sculpture I mentioned earlier. Right now it looks kind of like it could be almost anything, but I swear to you, it will be a monster.

I have always loved the idea of having a monster's head hanging on my wall, and I've finally decided to do something about it. For a long time, things like the wooden plaque were stopping me from making one of these, because I honestly didn't know how to do things with wood (and I've got a mean sawdust allergy, so I really didn't persue it). Lately, I've been becoming more and more adventurous with my art projects on the whole, so I though it was time to tackle this guy.

The styrene was saved from a Christmas present, and the blue styrofoam (yes, real brand-name styrofoam...which is mainly just used for insulation...everyone calls all the expanded polystyrene 'styrofoam' but it isn't...only Dow's styrene insulation is officially 'styrofoam'. Fact of the day) was reclaimed scraps from some of my other projects. I often wonder if the the people at the hardware stores wonder why I show up once every few months to buy a single panel of insulation. Heh.

The glass eyes are glass pebbles that came from a hobby store in the floral department. I painted them on the back. They are going to get eyelids out of sculpey (I need to devote a post just to what I use sculpey for, because it's a lot). Not pictured are the nose and teeth (both made of sculpey) and the hideous fake fur coat that is going to make bulk of the surface. I don't know yet if it will have horns, or what the ears will look like.

Tomorrow, I may show my latest fast project, which is currently getting a paint job out on the back porch (Yay, heat wave!).

Friday, February 18, 2011

New Sculpture Project: Robot


Here's the parts I have so far for my newest doll/sculpture, which will be a robot, of sorts.

The little jar is going to be the main bulk of the robot, but there will be arms and legs and plates and parts, of course. All the parts around the jar are made of sculpey, with the exception of the gray circular thing with orange in the middle. It is a glass pebble with orange glow in the dark sculpey behind it and silver sculpey around the edge.

The brain with it's delicate little brain stem will be in the jar, suspended in clear casting resin. The whole thing will be sort of '50's movie monster robot, mixed with a bit of steam punk nightmare.

There's a lot more that needs to be done to this thing before it's workable, but there you go, an update as to what I'm working on!

Thursday, February 17, 2011

Some Paintings


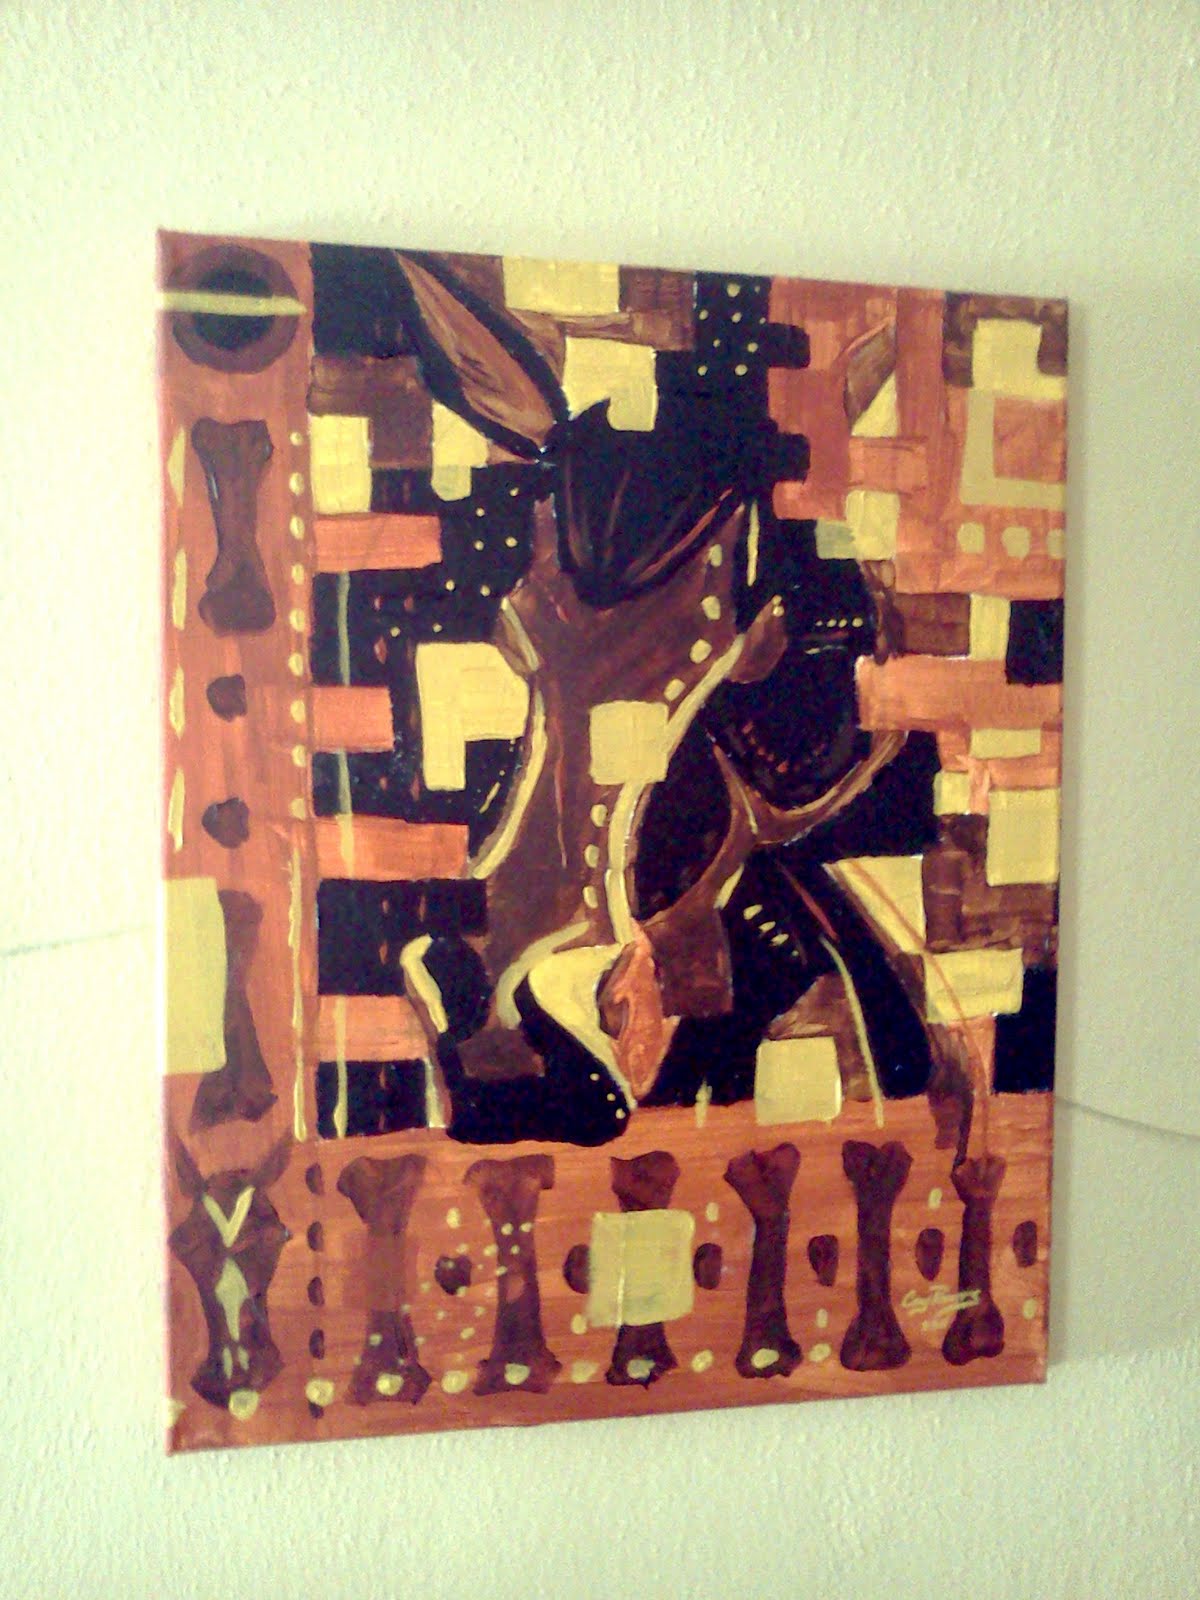
The reason I have not yet finished the rat doll, or even made a TON of progress on her, is because I stop working on her from time to time to pursue other artistic endeavors. Like painting! These four paintings have all been done in the last couple of weeks, and are all acrylic, and all 16 inches by 20 inches on gallery wrapped canvas.

The first one is a gas mask, which is a theme I enjoy, and has a palate limited to four colors. The second, which I've tentatively titled 'Stable' is also a four color palate. The Fox painting, which I finished last night, has five colors, and the Batman Beyond painting (which is just something to hang over my action figure collection) has four colors. I used to be a little crazier with my palates, but I seem to do better work if I really really limit how many tubes of paint I am working with. Four seems to be the most common number of late, but I think I've done them with as few as three. I'm not yet brave enough to do a painting with just two colors, but maybe soon.

In doll news, I have cut and baked the arms, so the rat doll has elbows, but I've not yet hooked the hands to them. Currently, I've got a batch of clay bits in the oven for my other doll, along with some teeth I'm baking for a wall sculpture, more on the wall sculpture later.

Enjoy the rest of your day, and I will likely reveal more as to what I am making and working on tomorrow.

Tuesday, February 15, 2011

Rat Doll part 6: Arms

Here's the start of the rat arms. There's a few steps still to be done on them, but this is where I begin.

I rolled out a bar of clay, cut it in half and baked it for the arms themselves. These two rods will each make one arm. The hands were sculpted separate. I'd go into more detail on how to do the hands, but honestly, there's a billion other tutorials out there on hand sculpting that far surpass my attempts. For now I will just say there is no armature in either the arms nor the hands.

The next step, which I've not done yet, so no pictures... is that I need to cut the arms in two again. I'll figure out the length I want from shoulder to elbow, then cut where the elbow bends. I'll use a cutoff disk and my dremel for this. If the forearm is the right length, then hurray! I won't have to cut more off of it, but as it stands, I think I will.

The elbow and wrist will be sculpted onto the existing forearm/ upper arm/ hand, then the completed arm will be rebaked. I'll also add a knob to the inside of the shoulder to allow it to be stuck into the torso. That's the bit that will allow me some articulation, later.

Monday, February 14, 2011

Valentines, Secret Doll, Blogger issue


So, first let me just say that adding three pictures apparently makes my layout a mess, and I can see that. Ooof.

Next, this is the secret doll that I kept talking about but not showing. It was a Valentine's present, and she reads the blog from time to time, so I couldn't show it until I gave it. It is an articulated raccoon doll. His tail is all flexy, and he's stable enough to sit or stand. The third pic (of his butt) was to show off both his balance and his tail. This doll was built along similar lines to what I'm doing with the rat doll currently, so a 'how-to' is slowly forming for this thing.

The little animals around the raccoon in the picture are Sarah's Littlest Pet Shop figure's. I find them to be a little spooky, but she loves them. Eh, whatever. The long cracked looking thing in the background is a base left over from some of my Star Wars figures, which is a much better use of plastic than little bobble head animals, in my opinion.

Okay, so I've covered Valentines and the Secret Doll, so I'll get to the last thing. My blogger dashboard is missing all of the blogs I follow. I don't know if this is a temporary issue, or if the blogs I follow just all shut down at once, or if I was an idiot and clicked something that I shouldn't have...I'll look into it. *grumble*

As an update, I've done a few paintings that will get some attention later, and I'm starting on a new doll that will be less poseable and more...nightmarish.

Thursday, February 10, 2011

Rat Doll part 5?


I've not done much to the doll that I've not already said, but here are some pics, anyway.

The first picture shows a close up of the head with the eyes sculpted on. The ears, paint job and hair are about the last things that need to be done to the head, so you'll likely not see it again until it's nearly time to assemble the doll.

The second picture is of the torso. I've drilled out openings for the neck and arms (which don't even exist yet). The neck has been dry fit into place, and works okay for now, but I may end up doing some fine tuning on the hole before the doll is finished. The holes were carved out with my dremel and a carving bit.

I also sanded down quite a bit of the body, though I'm not sure of how much you can see that in the picture. Some detail work is going to be added to the body, and quite a bit more smoothing. This sand was more of a 'shaping' sand than a polish.

Next up are the limbs, I've already sort of started the arms, but I will go into what is involved with the arms and legs in greater detail later.