Showing posts with label art dolls. Show all posts

Friday, May 13, 2011

Fox Doll Update

Oopsie! I forgot all about posting yesterday!

Anyway, here's the fox head as of today. I tried posting earlier, but blogger was having issues. It is Friday the Thirteenth, after all.

I could have posted something deranged and messed up, as the date makes that kind of thing fitting, but I never go with what is fitting.

The fox here is going slow. I spend more time patching cracks than I do sculpting. Her little hands and feet will be polymer clay instead of paper clay, and for that I am happy. They should go pretty fast.

I also need to make a pattern for the body. I want hips and a bust on her, so it should be interesting to try to make...meaning I have no idea how I'm going to do it. I have the fabric and the paint for her head, though.

Updates as they happen! Have a good weekend!

Friday, February 18, 2011

New Sculpture Project: Robot


Here's the parts I have so far for my newest doll/sculpture, which will be a robot, of sorts.

The little jar is going to be the main bulk of the robot, but there will be arms and legs and plates and parts, of course. All the parts around the jar are made of sculpey, with the exception of the gray circular thing with orange in the middle. It is a glass pebble with orange glow in the dark sculpey behind it and silver sculpey around the edge.

The brain with it's delicate little brain stem will be in the jar, suspended in clear casting resin. The whole thing will be sort of '50's movie monster robot, mixed with a bit of steam punk nightmare.

There's a lot more that needs to be done to this thing before it's workable, but there you go, an update as to what I'm working on!

Tuesday, February 15, 2011

Rat Doll part 6: Arms

Here's the start of the rat arms. There's a few steps still to be done on them, but this is where I begin.

I rolled out a bar of clay, cut it in half and baked it for the arms themselves. These two rods will each make one arm. The hands were sculpted separate. I'd go into more detail on how to do the hands, but honestly, there's a billion other tutorials out there on hand sculpting that far surpass my attempts. For now I will just say there is no armature in either the arms nor the hands.

The next step, which I've not done yet, so no pictures... is that I need to cut the arms in two again. I'll figure out the length I want from shoulder to elbow, then cut where the elbow bends. I'll use a cutoff disk and my dremel for this. If the forearm is the right length, then hurray! I won't have to cut more off of it, but as it stands, I think I will.

The elbow and wrist will be sculpted onto the existing forearm/ upper arm/ hand, then the completed arm will be rebaked. I'll also add a knob to the inside of the shoulder to allow it to be stuck into the torso. That's the bit that will allow me some articulation, later.

Monday, February 14, 2011

Valentines, Secret Doll, Blogger issue


So, first let me just say that adding three pictures apparently makes my layout a mess, and I can see that. Ooof.

Next, this is the secret doll that I kept talking about but not showing. It was a Valentine's present, and she reads the blog from time to time, so I couldn't show it until I gave it. It is an articulated raccoon doll. His tail is all flexy, and he's stable enough to sit or stand. The third pic (of his butt) was to show off both his balance and his tail. This doll was built along similar lines to what I'm doing with the rat doll currently, so a 'how-to' is slowly forming for this thing.

The little animals around the raccoon in the picture are Sarah's Littlest Pet Shop figure's. I find them to be a little spooky, but she loves them. Eh, whatever. The long cracked looking thing in the background is a base left over from some of my Star Wars figures, which is a much better use of plastic than little bobble head animals, in my opinion.

Okay, so I've covered Valentines and the Secret Doll, so I'll get to the last thing. My blogger dashboard is missing all of the blogs I follow. I don't know if this is a temporary issue, or if the blogs I follow just all shut down at once, or if I was an idiot and clicked something that I shouldn't have...I'll look into it. *grumble*

As an update, I've done a few paintings that will get some attention later, and I'm starting on a new doll that will be less poseable and more...nightmarish.

Thursday, February 10, 2011

Rat Doll part 5?


I've not done much to the doll that I've not already said, but here are some pics, anyway.

The first picture shows a close up of the head with the eyes sculpted on. The ears, paint job and hair are about the last things that need to be done to the head, so you'll likely not see it again until it's nearly time to assemble the doll.

The second picture is of the torso. I've drilled out openings for the neck and arms (which don't even exist yet). The neck has been dry fit into place, and works okay for now, but I may end up doing some fine tuning on the hole before the doll is finished. The holes were carved out with my dremel and a carving bit.

I also sanded down quite a bit of the body, though I'm not sure of how much you can see that in the picture. Some detail work is going to be added to the body, and quite a bit more smoothing. This sand was more of a 'shaping' sand than a polish.

Next up are the limbs, I've already sort of started the arms, but I will go into what is involved with the arms and legs in greater detail later.

Tuesday, February 8, 2011

Rat Tail

Small update on the rat doll today. I made the tail, and here it is.

The tail is made from Bake and Bend Sculpey, which means it is flexible. Not as flexible as rubber, but way more flexible than super sculpey. This will let me attach it without fear of it breaking like a twig the first time I touch the finished doll.

The stained and paint splattered surface I keep taking these photos on is actually a cutting mat. The little grid is composed of one inch by one inch squares, so you can get a sense of scale.

As you can see from the tail's shadow, it isn't laying completely flat on the cutting mat. It is curved because I baked it on a wadded up piece of t-shirt in my pyrex baking dish. The cotton shirt doesn't scorch in the oven, and is a really good surface for cradling delicate sculptures while they bake. By having the cotton all bound up into a wad, I was able to droop the tail over it while it baked and not just leave the thing flat. Also, I always cover the clay with aluminum foil (not touching!) so that the clay doesn't scorch as badly.

The reason for only focusing on the tail today: I stopped work on the rat to do a painting. I'll probably show it off tomorrow. Now, back to work on the rat!

Friday, February 4, 2011

Rat Doll part 4

The body of the rat was glued back together, yesterday, and the gaps in her sides were re-clayed. I drilled a hole where the neck would go, then baked it again.

The head got some more detail, namely the nose and mouth, but I also padded up the cheeks. It was re-baked as well.

I'm working on padding out the figure, some today. Bigger hips and rump, maybe some more clothing detail. I may also work on adding eyes and making ears for the head, or I may move on to the limbs. I'm not sure which, yet.

After baking the body for the third time, I may drill holes for the arms and legs. We'll see. I'm also considering some 'bake and bend' sculpey for the tail, that way it can be thin without danger of breaking off. That will require it's own bake, though, as the bake and bend sculpey cooks at a lower temp and for a shorter time. I'm also not 100% sure that I even still have any of the Bake and Bend stuff.

The skirt for the doll is still in the completely imaginary stage. I haven't picked a color yet, much less a fabric.

More stuff soon!

Thursday, February 3, 2011

Rat Doll part 3


After I baked the head and body at 275 for 15 minutes, I let them cool for a couple of hours. Then, I took the body and I cut it open! Yay!

I used my Dremel with a cutting disk to saw open the body, so I could pull out the stuffing inside of it. The tape on the body core really helped with pulling out the insides. Problem was, the clay was waaay too thin in places.

After I cut it open and removed the core, I added a thin layer of sculpey to the inside. That way she won't break as easily, but I still have a hollow body to work with. She's getting baked again, as I write this.

To note: If you are not going to paint your doll, I'm not sure that you would want to bake the sculpey multiple times. It tends to get a little darker in color every time, so none of your parts would match. The rat is probably going to be either gray or brown, so I don't care that the sculpey has a bit of a patchy color. If you are making a baby doll, however...maybe you shouldn't just bake and bake and bake.

Tomorrow, I will likely start making limbs for the rat!

Wednesday, February 2, 2011

Rat Doll part 2


I've roughed out the rat's body. I've also got a design sketched out, but I'm too lazy to scan it, apparently, so you'll have to take my word for it.

The first picture is the core of the torso. It is aluminum foil wrapped with masking tape. The core will be cut out of the torso later, and the tape makes it easier to keep the foil from being stuck all in the clay. The clay is super sculpey, of course..it being the easiest I've found to work with, thus far.


The second picture is of the torso covered in clay, with a rough of the head. Both parts are sitting in my oven as I am writing this. I don't want any confusion here, so let me just say that both the head and the body are in the 'first bake' stage. They both will have a lot of sculpting done to them before they are finished.

My plan involves a skirt and a long flexible tail on the rat, so you will likely get to see some comical attempts at sewing from me very soon. If anyone has a good idea as to what to use for a tail, let me know. I'd love to hear it.

Tuesday, February 1, 2011

Rat Doll

Sorry about yesterday, Folks. I felt like crap so I didn't really get much of anything done.

I did, however, finally start planning my next doll. It's gonna be a rat. More specifically, SHE is going to be a rat. In a dress. It will be cute, I promise. Also disturbing, as a rat in a dress should be.

I'm honestly pretty excited about this one. I think it will work out really well, but there's no way to know until later. I'm going to be a good boy and post progress and pictures of this doll, so you all can follow along with how she's coming along. There's no pictures yet, because there's no parts, yet.

Anyway...we'll see how this works out. I'll probably start her today, so the first set of pictures will be tomorrow.

Tuesday, January 25, 2011

Oopsie


I was so busy yesterday that I forgot to post anything! My bad. I've been working on several different projects, and some of them are closing in on finished. That's put me in a mad dash to finish them, of course.

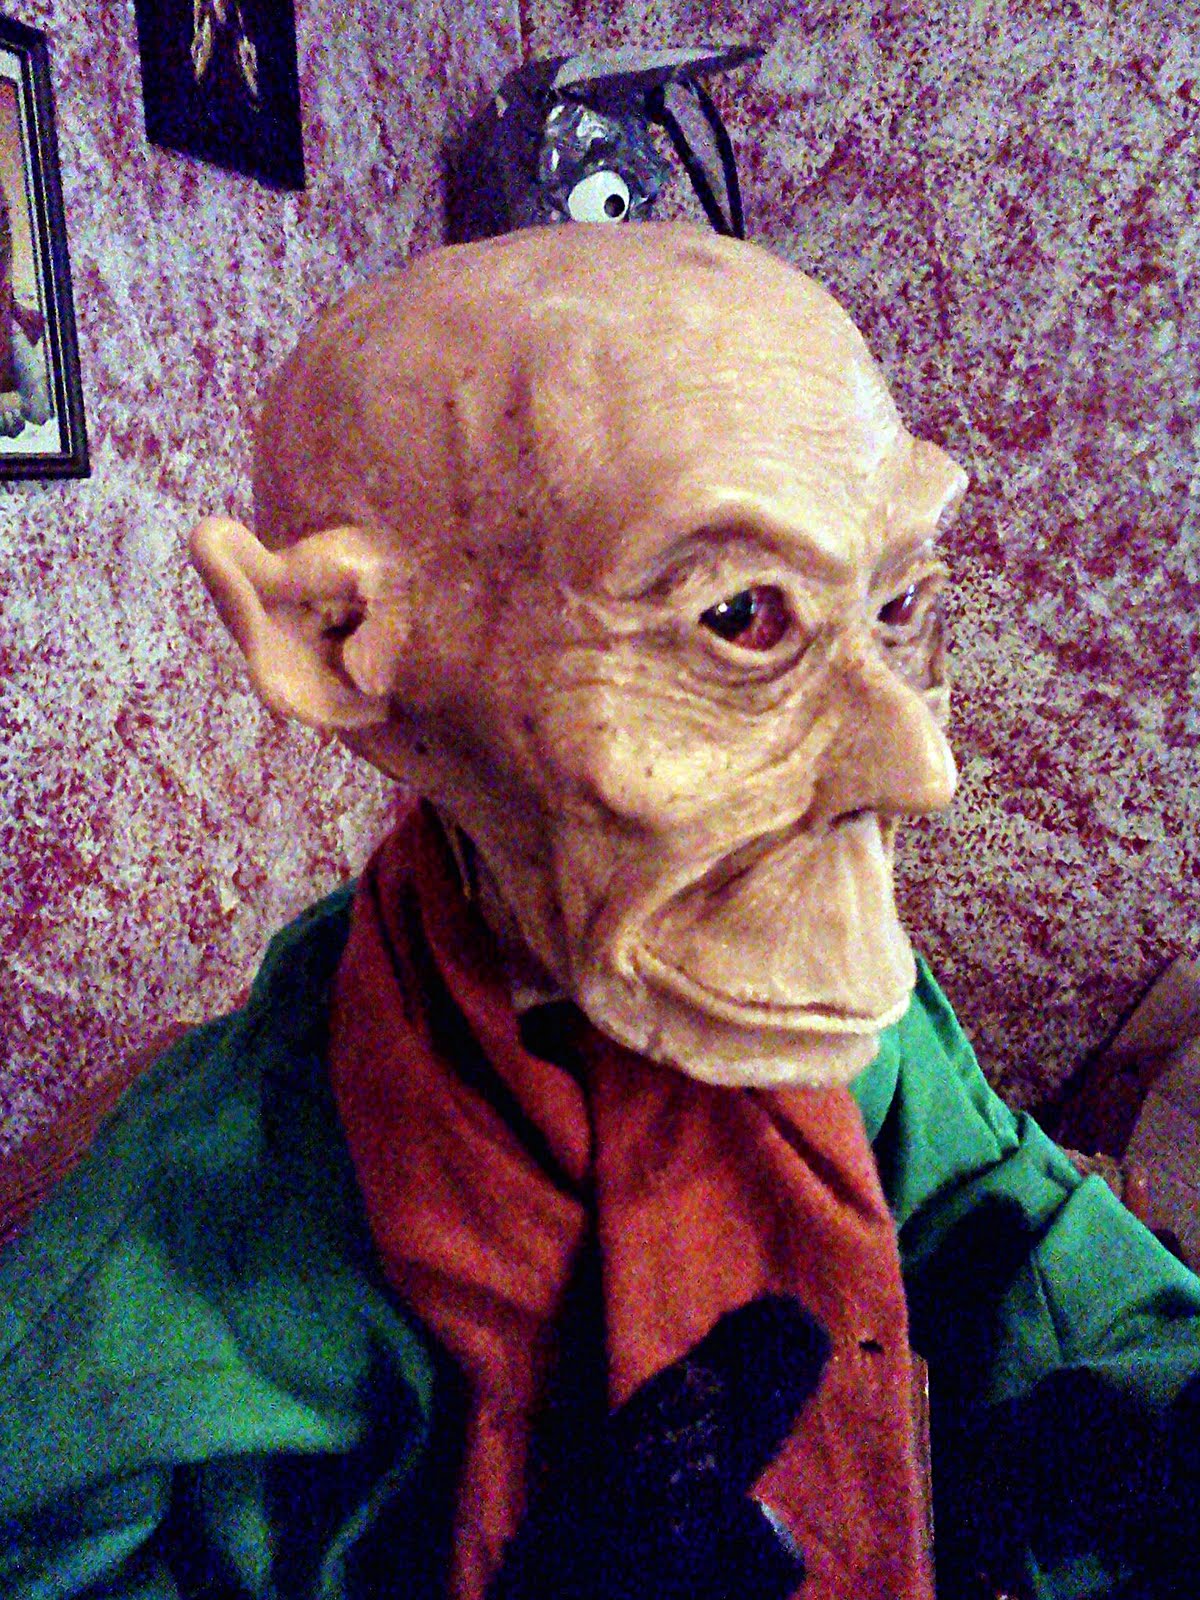
The Story Teller is finished. He's the guy pictured. I will take better pictures of him later, but right now the light isn't good enough for great photos of him. He's been a long time in the works, and I'm glad to have him done. Now, though, I just want to start another giant doll! Maybe I will, later.

The vacuum form table is still waiting on it's frames, then I intend to abuse and abuse it. I tested it's seals over the weekend, and everything seems to be in order. So, as soon as I get frames, something will be formed!

The new 'Secret Doll' is getting some articulation in the form of elastic bands, we'll see how well that works out in the next few days. I won't post the doll until it's finished though...even though I would normally not mind showing it off. This time, I have my reasons.

Kitchen cabinet rabbits are coming along. As soon as I have all six cut out, I will take down the cabinet doors and finish off this project. Pictures and info and all that will come once I do.

That's it for now. Enjoy the only pic of the story teller!

Thursday, January 20, 2011

Boxes, Sculpting, Painting

Today, instead of moving forward on any of the stuff I've talked about in the past week or so, I'm ending up working on a bunch of things that are kind of under the radar.

I just got done staining three wood boxes. I also stained my fingers, but that's beside the point. The boxes are all wood burned with different stuff on them, and they look fairly good, especially as I've never stained wood before. One has a donkey on it, one has a fox on it, and the last one has a pair of bunnies on it.

I've been working slowly slowly on a new doll, and I'm working on improving articulation, so hopefully this one will be more poseable than the ones in the past. If it works out, I'll go into it in more detail later.

I'm also going to be working on my Story Teller doll, who is easily the biggest doll I've ever attempted. He'd be over two feet tall, standing. He needs pants and boots and some paint on his neck and he's pretty much done. Can't wait to be showing off this guy.

For now, that's it. Once the boxes are fully stained, I can reclaim my art desk and will use it to work on my kitchen cabinets. For now, I have to wait, because if I get glue on the kitchen table, I'll never hear the end of it.

Thursday, July 29, 2010

TWO New Dolls!


Two new dolls today! Yay!!! The weather finally broke enough for me to get some photos!

Of course, the wind didn't like my flimsy backdrop, so I had a bit of a fight on my hands, there. Luckily, the dolls were more wind resistant.

First up is the Mummy! He's 14.75 inches tall, has a little bat hanging from his left arm, and glowing scary eyes! I made this guy in a burst of creativity, and he breaks pretty much every convention of my 'normal' dolls. His bandages are actual plaster wrapped bandages (I'm not sure now when I even got these things. I think they were originally for molding body parts for costuming). His belly, hands and face are all two part plumber's epoxy putty. I sculpted right onto the foil and wire armature. His eyes are glow in the dark polymer clay, and his bat is also the plumber's epoxy. He was painted with acrylics, and sealed with a heavy coating of matte finish acrylic sealer. He was a lot of fun, but plaster and epoxy putty are both reaaaallly messy! Also, the epoxy hardens REALLY fast. Working on this guy was a race, in places.

The elephant monk is sort of the result of the "Gas Mask Monk" but not entirely. Monks kind of interest me, but having an unusual monk ends up kind of distressing. At the start of the elephant sculpt, he was intended to be a warrior, complete with armor and weapons, but he changed on me. The scars on his face, arms and legs tell an interesting story, though. He's also an experiment in a lot of ways. His head and limbs are polymer clay, his body is papier mache. The skin on his body and on the joining areas are an experiment in papier mache....mostly glue, water, and paper towels, believe it or not. It added a cool wrinkly texture, so I'm not complaining. His ears are wire and cloth soaked in glue. Oh, as for the details... The elephant on his necklace is a metal trinket I picked up at Hobby Lobby, the wire jewelry is all hand made by me, save for the necklace, which I assembled, but I didn't put together the individual links. He's about 10 inches tall.

Also, I've listed the "Rabbit Magus" painting on Etsy for $250. If you want to get it, now's your chance!

Wednesday, July 28, 2010

It's time for Halloween! (REALLY!)

Okay, so I know that Halloween is still a good ways off, but I decorated the living room for it, anyway. The picture is of my mantel, and it's my Lemax Spookytown Village. There's a couple of really good reasons why I'd do this so early, too...so I'll share.

Firstly, I LOVE Halloween, and as a result, I try to get ready for it for forever. I put up my decorations as early as I can get away with it. I also start working on new Halloween stuff as soon as I can so I'll have new stuff to put out. I particularly love props and decorations...go figure.

Secondly, I sell Halloween styled stuff in my Etsy shop. I don't mean to, but that's where my art naturally goes. I blame my Mom. My first stuffed animal was a big brown fuzzy bat that she sewed for me. I'm sure she has some pictures of me in the crib with a bat, still. Anyway, that makes Halloween a money maker for me, with luck, but I have to get started on it hard-core, really early if I plan on having any sales in October. It's inspiration for me.

As a result, I've just finished a mummy sculpture, an 'ocular worm' (costume prop), I'm working like mad on my goblin art doll...he's the biggest I've made by far, and I'm working on a light up 'magic potion' and peeking monster (goes behind shelves or at a door frame).

The finished stuff will get pictures as soon as the stupid weather here clears long enough to let me take some. I also need some ideas, folks. I don't want to do a bunch of the same creepy stuff that nobody wants to buy! Hehe. Wish me luck!